/PREPARING to build your ONLINE STORE
Adding products to your store
In the next course, we will cover how to manually add and edit individual products. That is important to know how to do, however, when you're adding lots of products to your store, there's a faster way.
Uploading products using a CSV template
The platform allows store owners to use a specially-formatted spreadsheet (a .csv file) that the system can read and use to upload all of your products at once.
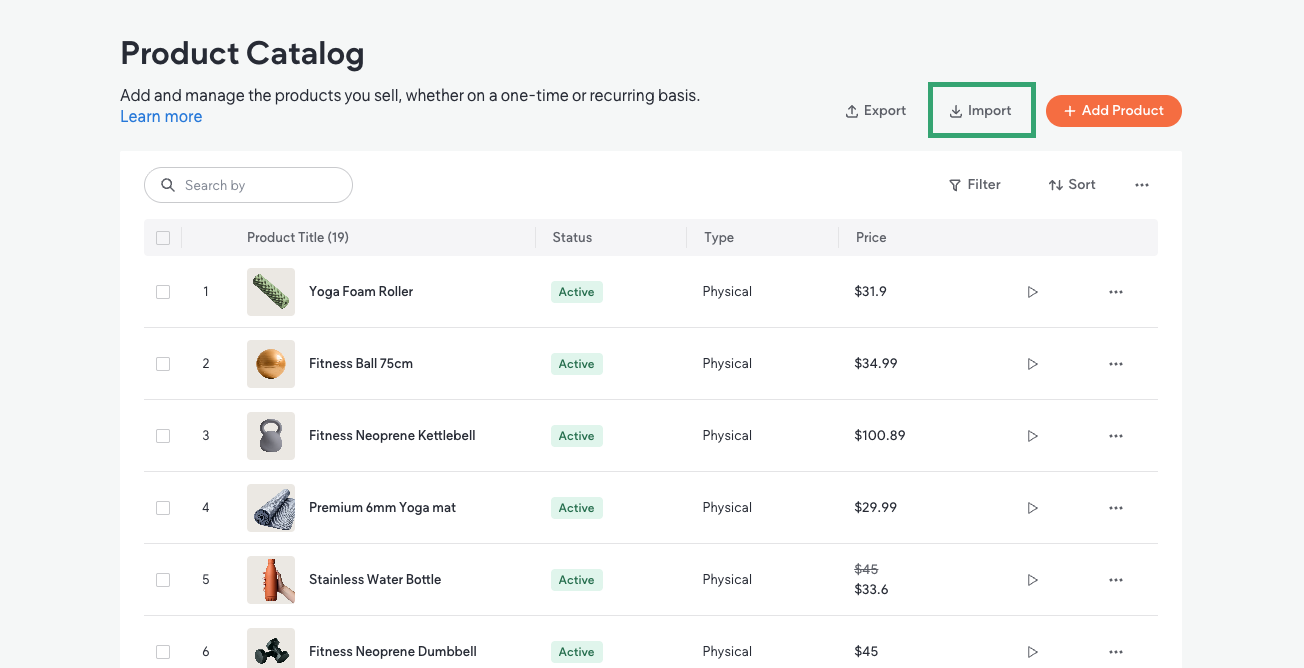
This CSV template is available here in this course (see button below) or you can find it under the Import button on the Product Catalog page within the editor.
Watch how this works:
Transcript
Helpful Links
Importing Products Into Your New Store
To move products from another store into your new store, you can use the import feature in the product catalog.
Select the platform you wish to bring those products from, then follow the instructions below.
Prepare Your CSV File
Native eCommerce only supports CSV files, so if your spreadsheet is currently saved as a Numbers or Excel file, you’ll need to export it as a CSV before importing.
Next, double-check that all your fields (column names) are properly formatted to match the required structure.
If you’d like to see an example, you can download a CSV template to review the recommended format before uploading your data.
Importing Your Products
When you're ready, upload the CSV.
If any products in the CSV file already exist in your store, you’ll be prompted to confirm whether you want to overwrite those existing products with the ones from the file.
When you're ready, import your products.
After the Import
If the import is successful, a confirmation message will appear to let you know it was completed successfully.
Be sure to review your product catalog to confirm that all products and their associated categories were imported correctly.
Help Center
Export products from external store
Use the CSV file as your product details guide
As you are collecting your product details, consider using the CSV file as a guide:
Important
Keep in mind:
You do
not need to have every field for every product filled in.
It's okay if you have blanks! Even getting the basic product information in place—such as product types, titles, and prices— can save you time.
Also, if you don't already have catchy product descriptions written, you can provide basic product information and then use the platform's built-in AI Assistant to refine the product descriptions for you.
Check it out:
Transcript
Helpful Links
Refine your product descriptions with AI
Writing catchy descriptions for all of your products can be time-consuming. Let me show you how to use the built-in AI Assistant to refine your product descriptions in minutes.
First, let's make sure we have a basic description of our product in the description field so that the AI has something to work with.
This can simply be a sentence that explains what your product is.
Next, click the purple sparkle icon to open the Assistant. You’ll see we've got several choices: we can make the description longer or shorter, improve our writing, check spelling and grammar, change the tone, translate it into another language, or give the Assistant custom instructions.
In this case, let's make our description longer. Okay, the Assistant made our product description much more exciting, however, let's say we wanted another option. Just click "Suggest Another" and it'll make a new version for you.
Alright! I like this one, but it's too long. No problem— let's ask the Assistant to shorten it.
Good. That’s much better. Once we're happy with the result, click “Use this Text” to drop the newly edited text into your description field.
Now, maybe we want to change the tone to match the rest of our website. Easy. We'll let the Assistant handle that as well.
If the result feels a little too long, we can simply tell the Assistant to shorten the description again. When we're happy with the result, we'll click "Use this Text" again to add our results to the Description field.
Repeat this process until you're happy with the results. When you're ready, save your changes. Then, from the Product Catalog, preview the Product Page using the product preview button.
Here you can see how your new product description looks on your product page.
That's it! You now know how to use the AI Assistant to create catchy product descriptions.
Help Center
Great! It's time to work on collecting your product information so you'll have that ready.