/INSTRUCTIONS
Your turn
Customize the Services section
Step 1: Rearrange and Modify the Services Section
To change position and layout:
- Preview the Services Section: Identify the necessary changes in position and layout.
- Move a Section:
- Select the section. (ex: Recent Projects).
- Use the arrow icons in the floating design panel to move the section. (ex: move down three times.)
- Update Layout:
- Change the layout. (ex: from showcasing two rows of service to one)
- Add a column to match the amount of cards shown in the mockup. (ex: add a column in Section B of Services)
- Empty sections that are no longer needed to create a section to hold the button as shown in the mockup. (ex: Section C of Services.)
- Set the background color of all Services sections to Orange Tint.
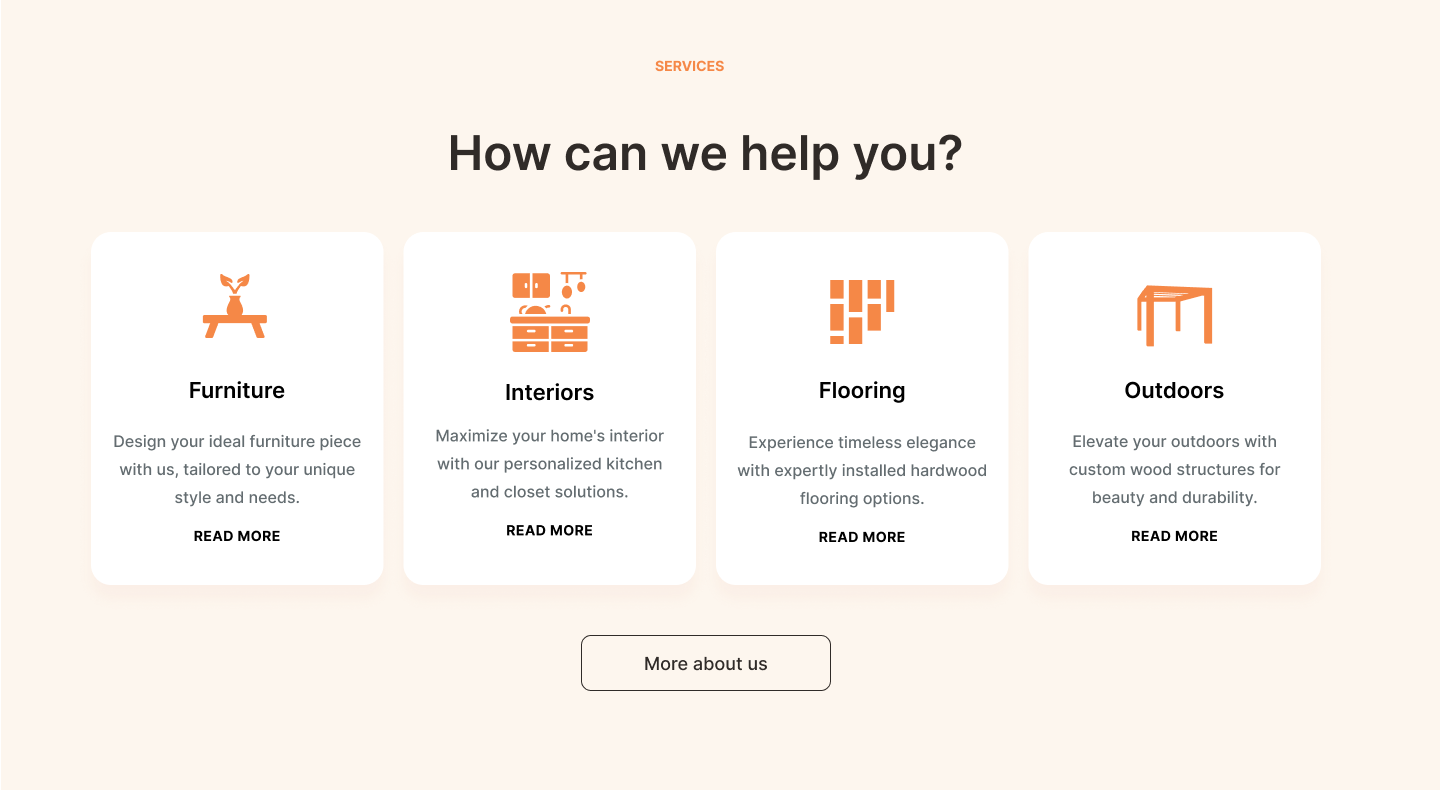
In this lesson, we will guide you through customizing the Services section of the electrician template. This section showcases the services you offer and is crucial for converting visitors into customers. We will cover rearranging and modifying the sections, adjusting fonts and spacing, duplicating columns, and adding buttons.
Follow the instructions below to recreate this section:
Adjust Section A
Step 2: Change Font Color
To adjust section A:
- Set Font Color: Select the text (ex: “SERVICES”) and set the
font color
(ex: to
Dark Orange).
Modify Section B
Step 3: Duplicating Columns, Replacing Icons, and Updating Text Copy
To modify section B:
- For each column in Section B:
- Replace icons:
- Click the icon. Then, in the floating design panel, select Replace Icon.
- In the Icon Content overlay, click Choose Icon.
- Upload icon images. (ex: hp_icon_Furniture.svg, hp_icon_Interiors.svg, hp_icon_Flooring.svg, hp_icon_Outdoors.svg).
- Update card title text copy:
- Click on the text widget and enter the new copy.
- Update description text copy:
- Click on the text widget and enter the new copy.
- Set description text font color:
- Select the description text widget and change the font color. (ex: set to Dark Brown). Or, update the site theme setting for paragraph style text. (ex: update to Dark Brown; note this may cascade and affect previously-made edits).
- Customize button: Set button design properties.
- Duplicate the newly formatted button and replace the template buttons with the newly formatted buttons.
- Apply Finishing Touches: Set the column Spacing values to match the mockup (ex: padding-left and padding right to 1%). And in the first column, adjust the column Size values (ex: set height to 198px).
Customize the button with the following properties:
- Set button style Background border color property to None.
- Click more design options and set Hover background color to None.
- In the Button text tab, set Hover Font color to Dark Orange.
- Configure button to link to the "Our Services" page.
Customize Section C
Step 4: Update the Buttons, Spacing, and Section Settings
To customize Section C:
- Add Button:
- In the new section created, add a button.
- Replace button text. (ex: with “Contact us”).
- Link to new content. (ex: Existing site page Contact Us).
- Switch the button style to the Secondary button theme.
- Align Content and Set Spacing of a Column:
- Select the column and set alignment. (ex: set to Horizontal Center and Vertical Top).
- Set Section Settings:
- Select the section and set Size properties. (ex: Set height to 174px).
- Set Button Height: Select the button and set Size properties. (ex: Set height to 50 px.)